How to Remove Candle Wax From Leather Shoes?
To remove candle wax from your leather shoes, first harden the wax using ice in a plastic bag to avoid spreading. Gently scrape off the wax with a plastic scraper or dull knife, then warm the area with a hair dryer on low heat to melt any residue. Blot softened wax with paper towels, and if grease stains remain, use a cloth dampened with pure heptane. Finish by conditioning the leather to restore moisture and supple texture. Find out how to protect your shoes and handle tough stains safely.
Understanding Candle Wax Stains on Leather Shoes

Although candle wax stains might seem straightforward at first, removing them from leather shoes requires careful attention because improper treatment can cause lasting damage. You need to understand that candle wax can harden in seams or textured areas, complicating removal. Unlike fabric, leather demands specialized methods since common cleaning techniques might worsen the stain or damage the material. Prompt action is essential; leaving wax untreated increases the risk of permanent discoloration or degradation. Also, consider the type of leather you’re dealing with, as different leathers respond differently to heat and solvents used during cleaning. By evaluating the wax stain’s extent and the leather’s characteristics, you’ll be better equipped to choose an effective, safe removal approach that preserves your shoes’ appearance and integrity.
Essential Materials for Wax Removal
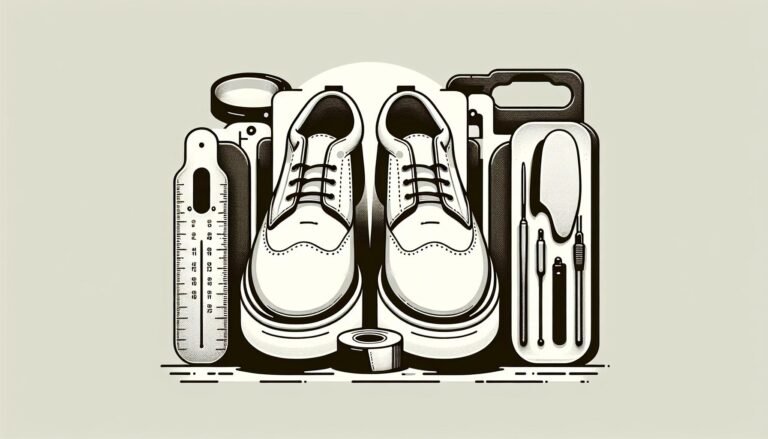
To effectively remove candle wax from your leather shoes, you’ll need specific tools like paper towels, a plastic scraper, and a hair dryer set to medium heat. Having leather conditioner and a soft brush ready is essential for restoring the leather after cleaning. Also, prepare for safe handling by working in a well-ventilated area and using materials like pure heptane to tackle any leftover grease stains.
Must-Have Cleaning Tools
Five essential tools will make removing candle wax from your leather shoes both effective and safe. First, paper towels are crucial for absorbing melted wax, preventing it from spreading. A plastic knife or spatula helps you gently scrape off hardened wax without scratching the leather. Ice cubes in a plastic bag allow you to harden the wax for easier removal. While a hairdryer set to low heat helps melt wax carefully, you’ll want to use it sparingly to avoid damage. After wax removal, pure heptane is an excellent solvent for dissolving any leftover grease stains. Finally, applying a quality leather conditioner will restore moisture and flexibility, keeping your shoes in top condition post-cleaning. These tools guarantee a thorough, damage-free process.
Safe Heat Sources
When you need to melt candle wax on leather shoes without causing damage, using safe heat sources is crucial. A hair dryer set to medium heat works well, gently softening wax while preserving the leather. Keep the dryer about six inches away to evenly distribute heat and avoid overheating. For targeted wax spots, a heat gun on a low setting offers precise control. Alternatively, you can use an iron with a paper bag or absorbent cloth between it and the leather; this lifts wax without direct contact. Before applying any heat, test the device on a hidden leather area to guarantee it won’t discolor or warp the surface. Using these safe heat sources carefully makes wax removal effective and protects your leather shoes.
Leather Conditioning Supplies
Leather conditioner plays a critical role in restoring your shoes after removing candle wax. It replenishes moisture and flexibility, preventing cracking and damage. Choose a leather conditioner with natural oils like mink or neatsfoot oil for effective nourishment. Make sure the conditioner suits your shoe’s leather type—some formulas target suede or nubuck specifically. Apply using a soft cloth in small circular motions for even absorption. Let it sit 15-30 minutes before buffing with a clean cloth to bring out a polished finish.
| Supply | Purpose |
|---|---|
| Leather Conditioner | Restores moisture and flexibility |
| Soft Cloth | Applies conditioner evenly |
| Natural Oils | Nourish and protect leather |
| Time (15-30 min) | Allows penetration |
| Buffing Cloth | Polishes for a smooth, finished look |
Preparing Leather Shoes for Wax Treatment
Before you start removing wax, make sure your leather shoes are clean and free of dirt to avoid scratching during treatment. Next, test a small, hidden area of the leather to see how it reacts to heat, ensuring no damage occurs. Taking these steps will help protect your shoes and make the wax removal process safer and more effective.
Cleaning Before Treatment
Although removing candle wax might seem straightforward, preparing your shoes properly is crucial for effective treatment. Begin with thorough cleaning before treatment; make sure your leather shoes are dry and free from dirt, as moisture or debris can hinder wax removal. Gather all necessary materials—paper towels, a plastic knife, and a hairdryer—before you start to keep the process smooth and efficient. Work in a well-ventilated space to avoid inhaling any fumes when heating wax or using solvents. Keep pets and children away to maintain safety. Remember, cleaning before treatment sets the foundation for success, ensuring that the leather surface is ready for wax removal without complications or damage. This preparation step is crucial for ideal results.
Testing Leather Compatibility
Once your shoes are clean and prepped, you’ll want to check how the leather responds to wax removal methods. Testing leather compatibility helps prevent damage like discoloration or texture changes. Identify your leather type—smooth, suede, or nubuck—and always test a small, hidden spot with a gentle, non-abrasive cloth. Let it dry fully before evaluating results. Refer to the manufacturer’s care guide for tailored advice. Use the table below to guide your testing process:
| Leather Type | Testing Spot Location | Evaluation Criteria |
|---|---|---|
| Smooth | Inside tongue | No color change or cracks |
| Suede | Heel edge | No stiffness or discoloring |
| Nubuck | Under sole flap | Texture intact, no stains |
| All Types | Any hidden area | Dry fully before judging |
This methodical approach guarantees safe, effective wax removal.
Techniques for Removing Hardened Wax
Three effective techniques will help you remove hardened candle wax from your leather shoes without causing damage. First, place a plastic bag filled with ice cubes on the wax stain for 10-15 minutes to harden the wax further, making it easier to remove candle wax by gentle scraping. Use a dull knife or plastic scraper to carefully lift off the wax, avoiding any scratches on the leather. If residue remains, lightly warm the area with a hair dryer on low heat from about 6 inches away to soften the wax, then blot it with a paper towel. Finally, if grease stains persist, apply a cloth dampened with pure heptane to dissolve the residue, ensuring you follow up with a leather conditioner to restore the shoe’s moisture and flexibility.
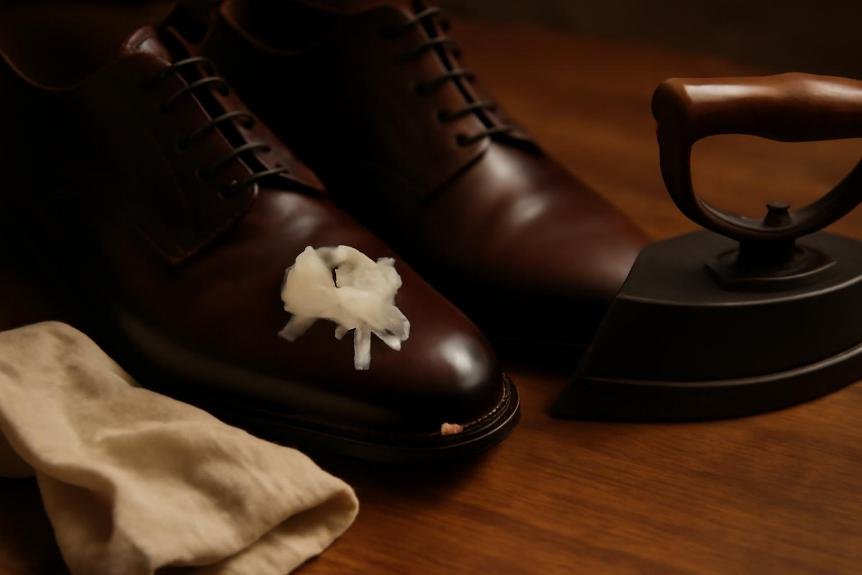
Using Heat to Melt and Absorb Wax
If scraping off hardened wax doesn’t fully remove the stain, applying gentle heat can help melt and lift remaining wax without harming your leather shoes. Use a hair dryer on a low setting, holding it about 6 inches away and moving it in a circular motion to distribute heat evenly. Place a paper towel over the wax as it melts to absorb it, changing towels frequently to avoid reapplying wax. Monitor the heat carefully to prevent damage or discoloration. Afterward, wipe away residue with a damp cloth and apply leather conditioner to maintain your shoes.
| Step | Tip |
|---|---|
| Heat source | Hair dryer on low setting |
| Distance | About 6 inches away |
| Motion | Circular to avoid overheating |
| Absorption | Paper towel, change frequently |
| Aftercare | Damp cloth wipe and leather conditioner |
Cleaning Residual Wax and Grease Stains
Although you’ve removed the majority of the candle wax, you might still notice greasy stains lingering on your leather shoes. To tackle these residual marks, use pure heptane, which effectively dissolves grease without harming the leather. Dampen a soft cloth with heptane and gently wipe the affected areas, ensuring you don’t saturate the leather. This step is essential for thoroughly cleaning candle wax from leather and restoring its appearance. Be careful to address all stained spots to prevent long-term damage. After removing the grease, let the shoes air dry completely before moving on to conditioning. Proper cleaning not only removes visible wax but also prepares your leather for subsequent care, maintaining its durability and look over time.
Conditioning Leather After Wax Removal
Once you’ve removed the wax, it’s essential to restore your leather’s moisture to keep it supple and prevent cracking. Choose a conditioner specifically designed for your type of leather to guarantee proper nourishment. Apply it evenly with a soft cloth, allowing it to absorb fully before buffing for a smooth finish.
Restoring Leather Moisture
Because removing candle wax can strip your leather shoes of their natural oils, you’ll need to apply a high-quality leather conditioner to restore moisture and prevent drying or cracking. Follow these steps to effectively restore your shoes:
- Use a soft cloth to apply the leather conditioner evenly, covering all wax-treated areas for consistent moisture.
- Choose a conditioner with natural oils and waxes like mink oil or beeswax to nourish and protect the leather.
- Allow the conditioner to absorb fully for 15-30 minutes, ensuring deep penetration.
- Buff the shoes with a clean cloth to achieve a polished finish.
Regular conditioning after cleaning helps keep your leather shoes supple, extending their life while maintaining their look and feel.
Choosing Proper Leather Conditioner
Choosing the right leather conditioner is essential for effectively restoring your shoes after wax removal. You should pick a leather conditioner that contains natural oils like lanolin or mink oil, as these help replenish moisture and improve flexibility. Make sure the conditioner suits your shoe’s leather type—some are specifically formulated for finishes like aniline or nubuck. Apply the conditioner in a thin, even layer using a soft cloth or sponge, working it in with circular motions for better absorption. Let it penetrate for 15 to 30 minutes before buffing with a dry cloth to restore shine and remove excess product. Regular conditioning every 3 to 6 months will maintain your leather’s suppleness and protect it from future damage, especially after incidents like wax spills.
Tips for Preventing Wax Damage on Leather Shoes
If you want to keep your leather shoes free from wax stains, taking preventive measures is essential. Here’s how you can protect your footwear effectively:
- Use dripless candles to minimize wax spillage, reducing the chance of accidental drips on leather.
- Always place candles in sturdy, secure holders to prevent tipping and wax runoff.
- Store your leather shoes away from candlelit areas to avoid accidental exposure.
- Apply a protective spray designed for leather to create a barrier against wax and stains.
When to Seek Professional Leather Care

Even with careful prevention, wax spills can sometimes penetrate your leather shoes deeply or cause discoloration that home remedies can’t fix. In these cases, it’s wise to seek professional leather care. Experts use specialized tools and products to safely remove wax while preserving your shoes’ quality and appearance. If you’re unsure about cleaning methods or handling valuable or vintage items, a leather care specialist can prevent costly damage.
| Situation | Reason to Consult Professional | Benefit |
|---|---|---|
| Deep wax penetration | DIY methods ineffective | Safe, thorough removal |
| Discoloration | Home remedies fail | Restores natural leather color |
| Valuable/vintage shoes | Risk of damage with improper cleaning | Maintains integrity and value |
Maintaining the Appearance of Leather Shoes Post-Cleanup
One essential step after removing candle wax from your leather shoes is to apply a quality leather conditioner. This helps restore moisture and prevents the leather from drying out or cracking. To maintain your shoes’ appearance post-cleanup, follow these steps:
- Apply a leather conditioner evenly to nourish the leather.
- Use a pigmented cream or polish to restore and match the original color.
- Inspect for any color inconsistencies and touch up with leather dye if needed.
- Store shoes in a cool, dry place away from direct sunlight to avoid fading.
Adopting this routine care not only preserves the look but also extends the life of your leather footwear, keeping them supple and attractive over time.