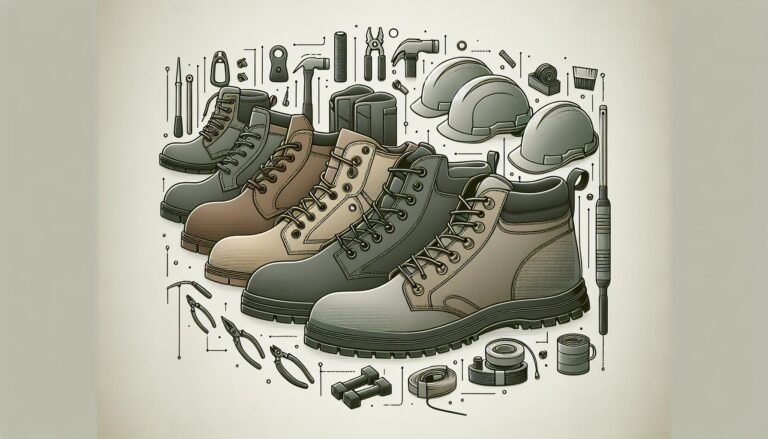
Ultimate Guide: Making Your Slippers Non-Slip & Maintenance Tips
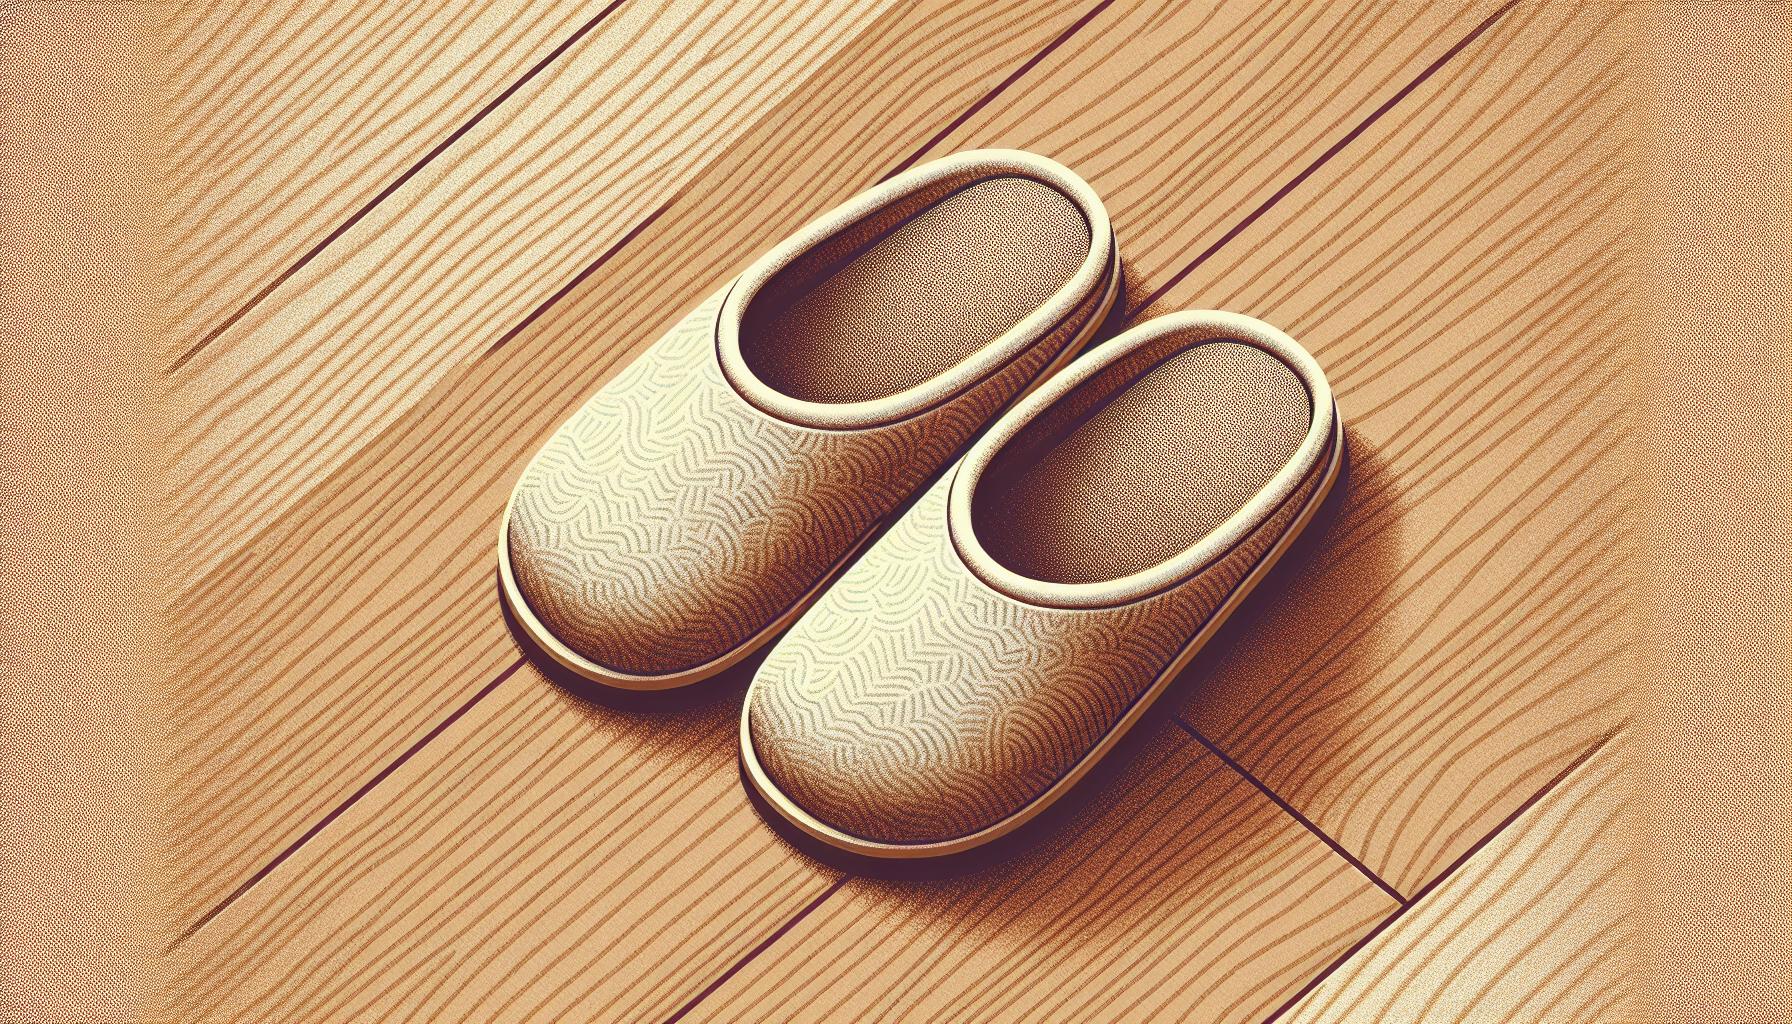
Slipping and sliding in your favorite pair of slippers isn’t just annoying; it can be downright dangerous. I’ve found myself skidding across the kitchen floor more times than I’d like to admit. That’s why I dove deep into the world of DIY solutions to make slippers non-slip. Trust me, it’s easier than you might think, and your feet (and floor) will thank you.
Key Takeaways
- Importance of Non-Slip Slippers: Non-slip slippers are crucial for preventing falls, especially in homes with hard flooring, thereby improving safety and reducing the risk of injuries.
- Choosing the Right Materials: Selecting appropriate materials such as rubber, silicone, or even hot glue is vital for enhancing slip resistance, with texture playing a significant role in the effectiveness of the DIY solutions.
- Effective DIY Solutions: Various DIY options like puffy paint, adhesive grips, and sewing rubberized fabric offer effective, budget-friendly ways to make slippers non-slip, catering to different needs and skill levels.
- Testing for Effectiveness: Conducting dry, wet, and durability tests are essential steps to ensure the non-slip treatment is effective and to make necessary adjustments for optimal slip resistance.
- Maintaining Non-Slip Capability: Regular cleaning, avoiding harsh conditions, and periodic reapplication of the non-slip treatment are key practices for sustaining the non-slip capabilities of slippers over time.
Understanding the Importance of Non-Slip Slippers
In my journey to find the ultimate solution for making slippers non-slip, I’ve come to appreciate just how crucial it is to have footwear that keeps you safe. It’s not just about avoiding the humor of cartoon-like slips; it’s a matter of safety. Slipping can lead to serious injuries, especially in homes with hard flooring or for individuals with mobility concerns.
I’ve learned that the risks associated with slippery slippers are not to be taken lightly. According to data from emergency room visits, falls account for a significant number of home injuries each year. Here’s a quick glimpse into the stats:
| Reason | Percentage (%) |
|---|---|
| Falls at home | 30% |
| Footwear-related | 27% |
These numbers drove home the importance of investing time into making my slippers safer. Beyond the statistics, though, there’s the comfort and confidence that come from knowing you’re treading on safe ground. Whether it’s getting up in the middle of the night for a glass of water or chasing after a pet, having non-slip slippers means one less hazard to worry about.
Moreover, I’ve noticed an improvement in my posture and foot health. Slippers that grip the floor properly encourage a more natural walking motion, reducing strain on my feet, ankles, and lower back. This is particularly critical for seniors or anyone with pre-existing conditions that could be exacerbated by a fall.
Implementing non-slip solutions to my slippers has also had an unexpected benefit: it’s extended their lifespan. By reducing the amount of wear and tear on the sole, I’m not only ensuring my safety but also getting more value from my purchase. It’s a win-win that I hadn’t anticipated but am thoroughly enjoying.
With this newfound knowledge and firsthand experience, I’m more eager than ever to share the DIY solutions that have worked for me.
Choosing the Right Materials for Slippery Surfaces

When it comes to making slippers non-slip, selecting the right materials is crucial. I’ve found that the effectiveness of your DIY solutions heavily relies on understanding which materials grip best on various floor types. Hardwood, tile, and laminate are notorious for causing slips, but with the right materials, you can easily prevent any mishaps.
Rubber is my top recommendation for enhancing slip resistance. It’s affordable, easy to work with, and offers excellent grip on most surfaces. Silicone, another fantastic option, though slightly more expensive, provides a soft, flexible, and durable solution. Both materials can be applied directly to the soles of your slippers using adhesive.
For those looking for a quick fix, I’ve had great success with hot glue. Applying a pattern of dots or lines on the bottom of the slippers significantly improves traction. Just ensure the glue is completely dry before testing them out. It’s a temporary solution, but it’s incredibly effective and accessible.
Here’s a quick breakdown of the materials:
| Material | Cost | Ease of Use | Durability |
|---|---|---|---|
| Rubber | Low | High | High |
| Silicone | Medium | High | Very High |
| Hot Glue | Low | Very High | Low |
Keep in mind, texture plays a significant role in slip resistance. Materials with a rougher texture tend to provide better grip. So, when choosing your materials, consider not just the cost and durability, but also the texture. By selecting the right materials for the job, you’re already halfway to creating safer, non-slip slippers that’ll keep you and your loved ones safe on those slippery floors.
DIY Non-Slip Solutions for Slippers
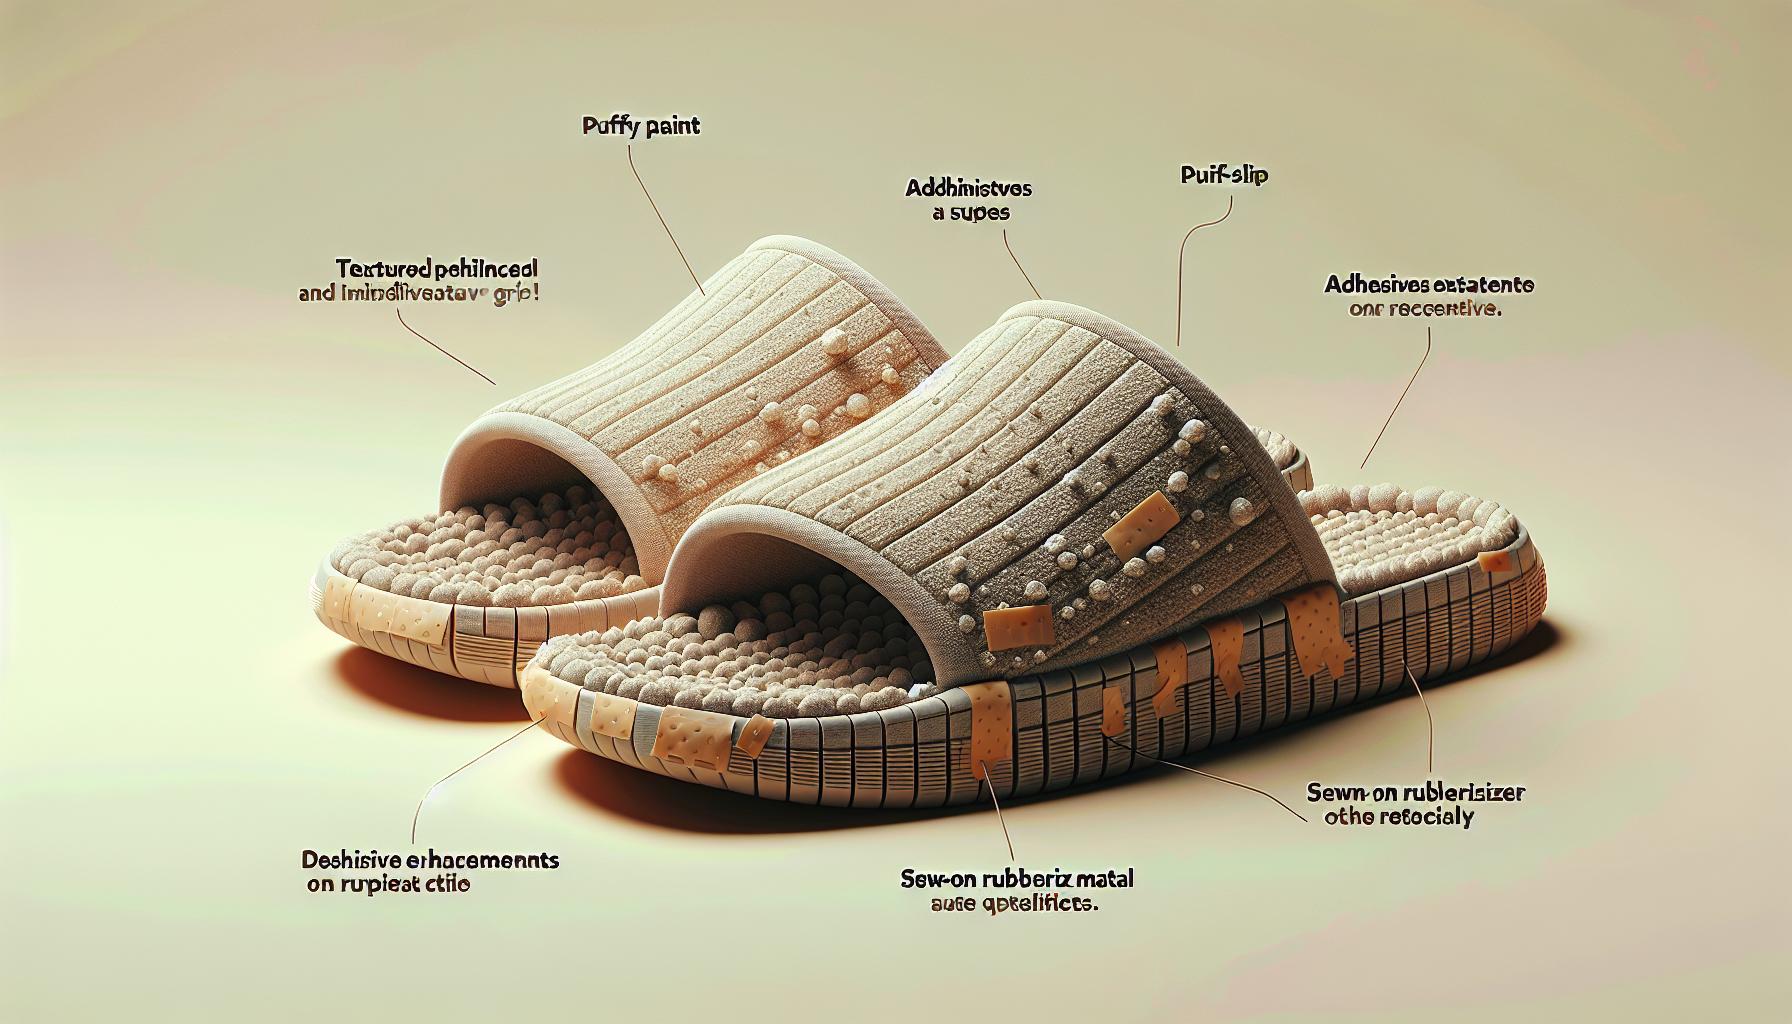
Creating non-slip slippers at home is easier than you might think, and you don’t have to be a crafting expert to get fantastic results. I’ve experimented with several techniques and found a few that really work without much hassle or expense.
Firstly, puffy paint offers a simple yet effective solution. It’s not just for fabric decoration; when applied to the bottom of slippers, it provides a textured, grippy surface that improves traction significantly. The key is to apply small dots or lines in patterns that cover the areas of the sole where contact with the floor is highest. This method is not only affordable but also allows for customization in design. Allow the paint to dry for at least 24 hours before use.
Another option is buying pre-cut adhesive grips that stick directly to the bottom of your slippers. These are usually made from rubber or silicone and come in various shapes and sizes to fit any slipper design. They’re incredibly convenient and provide excellent slip resistance. Make sure the sole of the slipper is clean and dry before application to ensure they adhere properly.
Lastly, for a more durable solution, sewing rubberized fabric or thin silicone mats to the soles can offer long-lasting slip resistance. This option does require basic sewing skills, but the result is well worth the effort. Plus, it’s a great way to upcycle materials you might already have at home.
| Material | Cost | Ease of Use | Durability |
|---|---|---|---|
| Puffy Paint | Low | High | Moderate |
| Adhesive Grips | Moderate | High | High |
| Rubberized Fabric | Varies | Moderate | High |
Each of these DIY solutions has its own set of advantages, depending on your needs and available resources. Whether you’re looking for a quick fix or a more permanent solution, making your slippers non-slip is definitely within reach.
Testing the Effectiveness of Your Non-Slip Treatment
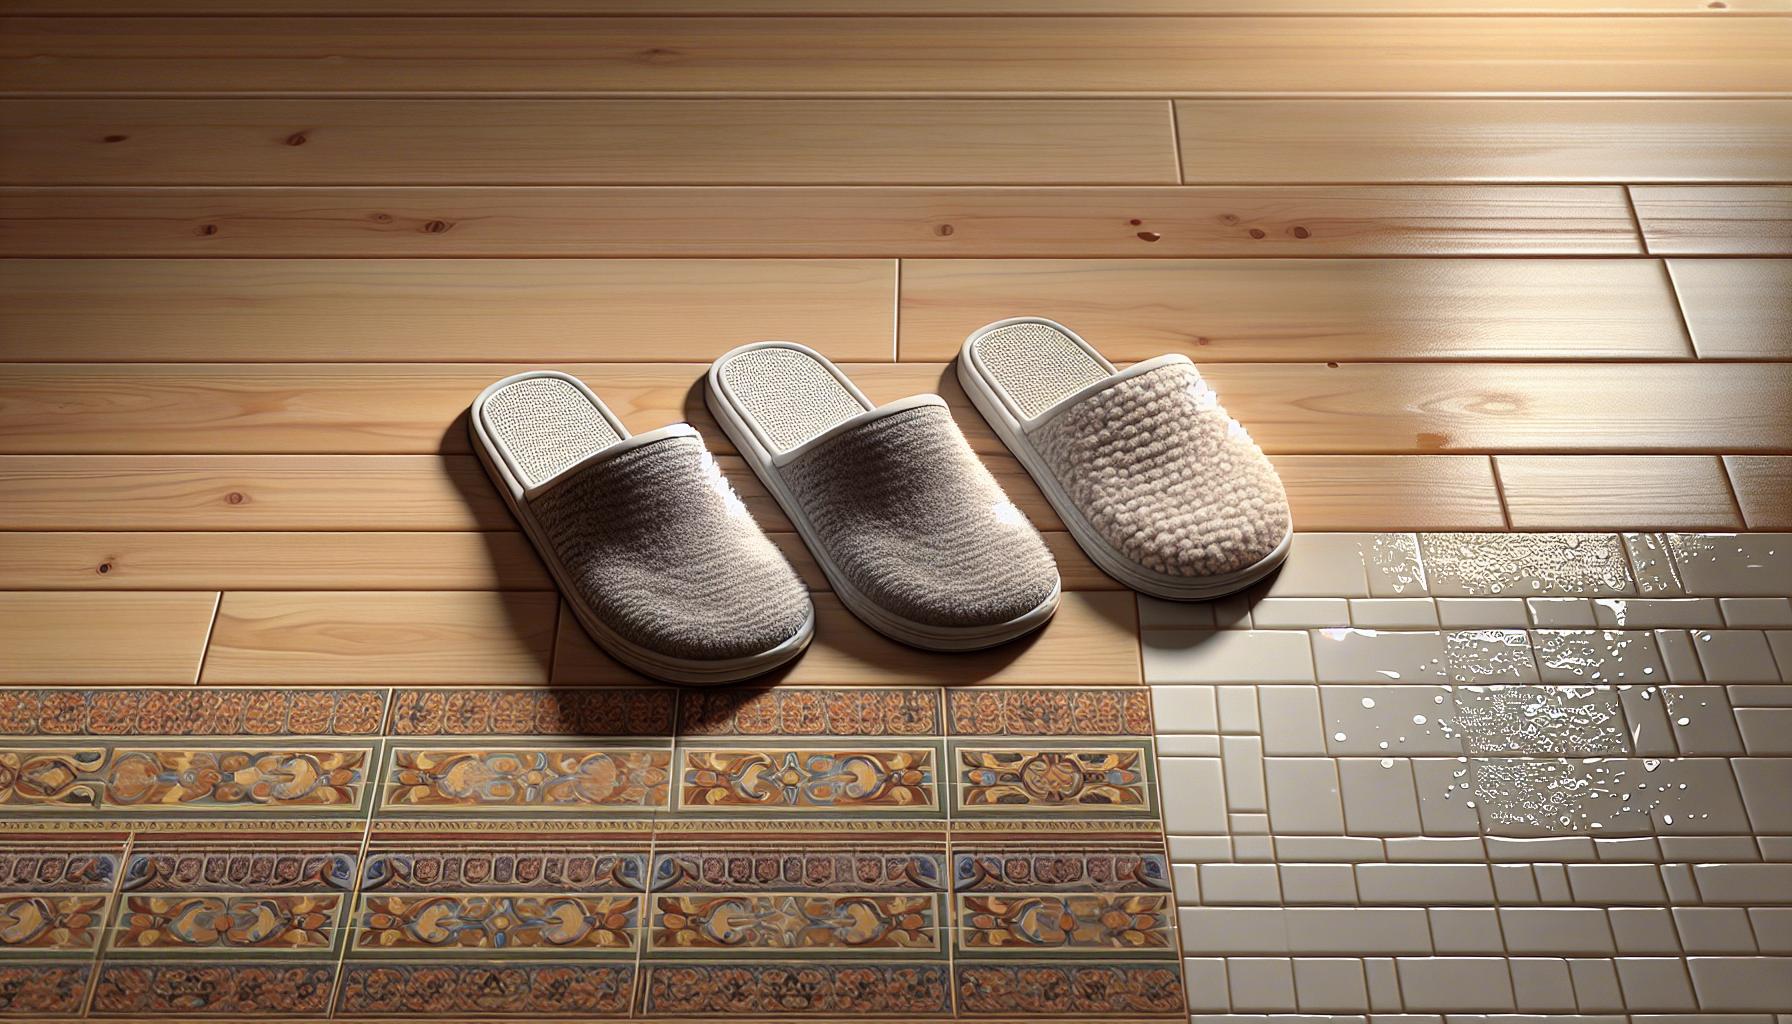
After applying a non-slip treatment to my slippers, I knew the next crucial step was testing their effectiveness. This would not only assure me of their improved traction but also highlight any further adjustments needed. Through trial and error, I’ve come up with a systematic approach to accurately gauge the success of my DIY efforts.
I started with the Dry Test. On an indoor surface such as hardwood or tiles, I walked normally, paying close attention to any slippage. This test was repeated on a variety of surfaces around my home to ensure consistency in the slippers’ performance.
Next, I conducted the Wet Test. Bathrooms and kitchens, where floors can often become slick due to spills or moisture, were my primary testing grounds. Carefully, I stepped onto these wet surfaces to see if the treated slippers would hold their ground, an essential factor in determining their overall safety and effectiveness.
For a more thorough evaluation, I also performed a Durability Test. Wearing the slippers daily for a set period allowed me to observe how well the non-slip treatment held up over time. This was critical in determining whether the solution was a temporary fix or a long-term improvement.
| Test Type | Purpose | Testing Surface |
|---|---|---|
| Dry Test | Gauge slip resistance on dry surfaces | Hardwood, tiles |
| Wet Test | Assess performance on wet/slick surfaces | Bathroom and kitchen floors |
| Durability Test | Evaluate longevity of the non-slip treatment | Various, over extended use |
Armed with these insights, I could make informed decisions on any modifications needed, ensuring that I ended up with a pair of slippers that were both comfortable and safe. Whether it’s tweaking the amount of puffy paint used or reapplying adhesive grips, the goal was always clear – to achieve the perfect balance between coziness and slip resistance.
Maintaining Non-Slip Capability Over Time

Once you’ve successfully treated your slippers to become non-slip, maintaining their grip over time becomes the next challenge. I’ve found that the longevity of the non-slip treatment is just as crucial as the initial application. Through trial and error, I’ve identified key practices that help sustain the non-slip capabilities of slippers.
Regular Cleaning is essential. Dirt and oils accumulate on the soles, reducing their effectiveness. I recommend a gentle cleaning method depending on the material of your slippers. For rubber soles, a simple wipe with a damp cloth does the trick, while fabric soles might need a bit more care, like a soft-brush scrubbing with a mild detergent.
Avoid Harsh Conditions. Extreme temperatures and rough surfaces can degrade the non-slip treatments quicker than you’d expect. I make it a point to wear my slippers indoors predominantly and avoid taking them out on rough pavement or gravel, which can wear down the grip enhancement.
Periodic Reapplication. Depending on the method used for making your slippers non-slip, you might need to reapply the treatment periodically. For example, puff paint tends to wear off with heavy use, so I redo the application every few months. Similarly, adhesive grips might lose their stickiness and need replacement.
Here’s a quick reference for when you might consider reapplying non-slip treatments based on my experience:
| Treatment Method | Reapplication Frequency |
|---|---|
| Puff Paint | Every 3-4 months |
| Adhesive Grips | Every 2-3 months |
| Spray Coatings | Every 4-5 months |
Remember, these frequencies can vary based on how often you wear your slippers and the surfaces you walk on. Keeping an eye on the state of your slippers’ soles will help you determine the optimal reapplication timing for your specific situation.
Lastly, monitoring the wear and tear of your slippers is imperative. Any significant signs of degradation on the sole might mean it’s time for a new pair rather than just a new application of your non-slip solution.
Conclusion
Making your slippers non-slip isn’t just a one-time task; it’s an ongoing commitment to safety and comfort. By following the steps I’ve shared, you’ve equipped yourself with the knowledge to not only apply a non-slip treatment effectively but also to ensure it lasts. Remember, the key to maintaining slip-resistant slippers lies in regular care and being proactive about reapplication. Whether it’s after a few months or more frequently, depending on your chosen method, staying on top of this will extend the life of your slippers and keep you safe on your feet. And when you notice significant wear and tear, it might be time to treat yourself to a new pair. After all, ensuring your slippers are non-slip is not just about adding grip; it’s about adding confidence to every step you take indoors.
Frequently Asked Questions
What are DIY non-slip solutions for slippers?
DIY non-slip solutions for slippers include applying adhesive grip pads, using puff paint on the soles, and adding a layer of liquid rubber. These methods help increase the traction of the slippers, making them safer to use on slippery surfaces.
How can I test the effectiveness of non-slip treatments?
To test the effectiveness of non-slip treatments, conduct Dry, Wet, and Durability Tests. Use different surfaces to simulate common conditions and assess how well the treated slippers resist slipping. The goal is to ensure safety and effectiveness under various conditions.
Why is it important to maintain the non-slip capability of treated slippers?
Maintaining the non-slip capability of treated slippers is crucial to ensure they continue to provide safety and prevent slips. Regular cleaning to remove buildup, protecting them from harsh conditions, and reapplying the treatment as needed helps sustain their effectiveness.
How often should I reapply the non-slip treatment?
Reapplication frequency depends on the method used. For adhesive grips, replace when noticeably worn. Puff paint and liquid rubber might require reapplication every few months, based on use intensity and visible wear. Always monitor the condition and adjust accordingly.
How do I know when to replace my slippers?
Consider replacing your slippers when the soles show significant wear or if the non-slip treatment no longer effectively prevents slipping, even after reapplication. Regular inspection helps identify when it’s time for a new pair to ensure continued safety.