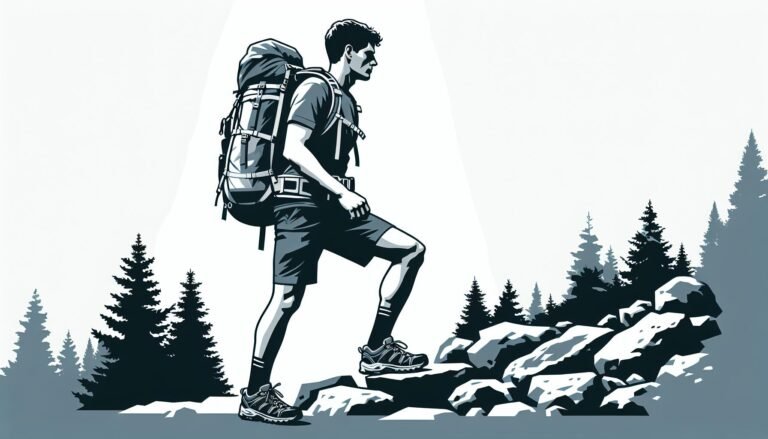
Master Drawing Feet in Shoes: Step-by-Step Guide & Tips
Drawing feet in shoes can often stump even the most seasoned artists. It’s the intricate dance of anatomy and perspective that makes capturing them on paper a unique challenge. I’ve faced this hurdle countless times, and I’m here to share my go-to strategies that’ll help you master the art.
Understanding Feet Anatomy
When I began focusing on the anatomy of the feet, my drawings significantly improved. It’s crucial to recognize that feet are complex structures, a dynamic framework of bones, joints, and muscles working together. To capture this complexity in your art, you’ll need a solid understanding of these components and how they interact within the confinement of shoes.
Here’s a breakdown of the essential anatomy to consider:
- Bones: The human foot consists of 26 bones. These include the tarsals, metatarsals, and phalanges.
- Joints: Key joints in the foot are where the bones meet, allowing for movement. The ankle joint, subtalar joint, and metatarsophalangeal joints are particularly important when drawing feet in different positions.
- Muscles and Tendons: Muscles give the foot its shape and enable movement, while tendons connect muscles to bones. When drawing a foot in a shoe, it’s vital to hint at these underlying structures.
Studying the biomechanics of the feet can also play a significant role in making your footwear sketches more realistic. Understanding how weight distribution affects the shape and positioning of the foot in a shoe can lead to more lifelike depictions. For instance, when someone is standing, the arch of the foot compresses differently than when they are sitting. These subtleties can make or break a drawing.
To get the anatomy right, I often refer to medical diagrams and photographs, or even look at my feet and how they behave in various footwear types. Sketching from life has always served as a brilliant practice tool for honing my skills.
Remember, the appearance of feet in shoes isn’t just about the shoe contour; it’s about conveying the interaction between the anatomy of the foot and the shoe itself. Don’t shy away from the details that bring this interaction to life. Each ligament, each curve of the bones beneath the skin—they all contribute to the story your drawing tells.

Basics of Shoe Construction
When taking on the task of drawing feet in shoes, one of the aspects I always focus on is the basics of shoe construction. Understanding this is key to creating believable footwear in your drawings. Shoes are more than just a covering; they are engineered to fit and protect the foot, taking into account various movements and strains.
To start with, let’s break down the primary components of a shoe. The upper is the top part of the shoe that holds the entire structure together. It is crucial for shaping the shoe and is often made from a variety of materials like leather, canvas, or synthetic fabrics. Next, we have the toe box, which is the front of the upper and provides space and protection for the toes. While drawing, I pay close attention to how the material of the upper creases and conforms to the anatomy of the foot.
Moving towards the bottom of the shoe, the sole is the foundation of any shoe design. The soles consist of the outsole, midsole, and insole. The outsole is the bottom layer that comes in direct contact with the ground; it’s usually textured for traction. The midsole is sandwiched between the insole and outsole, primarily for comfort and shock absorption. Lastly, the insole is where the foot rests. When I’m sketching, I keep in mind how the sole’s texture and thickness influence the overall footwear silhouette.
Another element is the heel. Whether it’s a high heel or a flat, the heel has a significant impact on posture and foot alignment in a shoe. This should translate into the way the foot is positioned in your drawings. I always take into account the height and shape of the heel to maintain consistency in the angle of the foot.
The last is also a term artists should be familiar with. It’s the mold on which a shoe is constructed and directly affects the shape and fit. While a last is not visible in the finished product, its influence on the final form is indisputable, and knowing this aids immensely in sketching shoes that look fitted and functional.
To ensure I capture these details, here are some of the resources I use:
- Technical shoe design schematics
- Close-up photos of various shoe types
- Hands-on examination of shoes in my collection
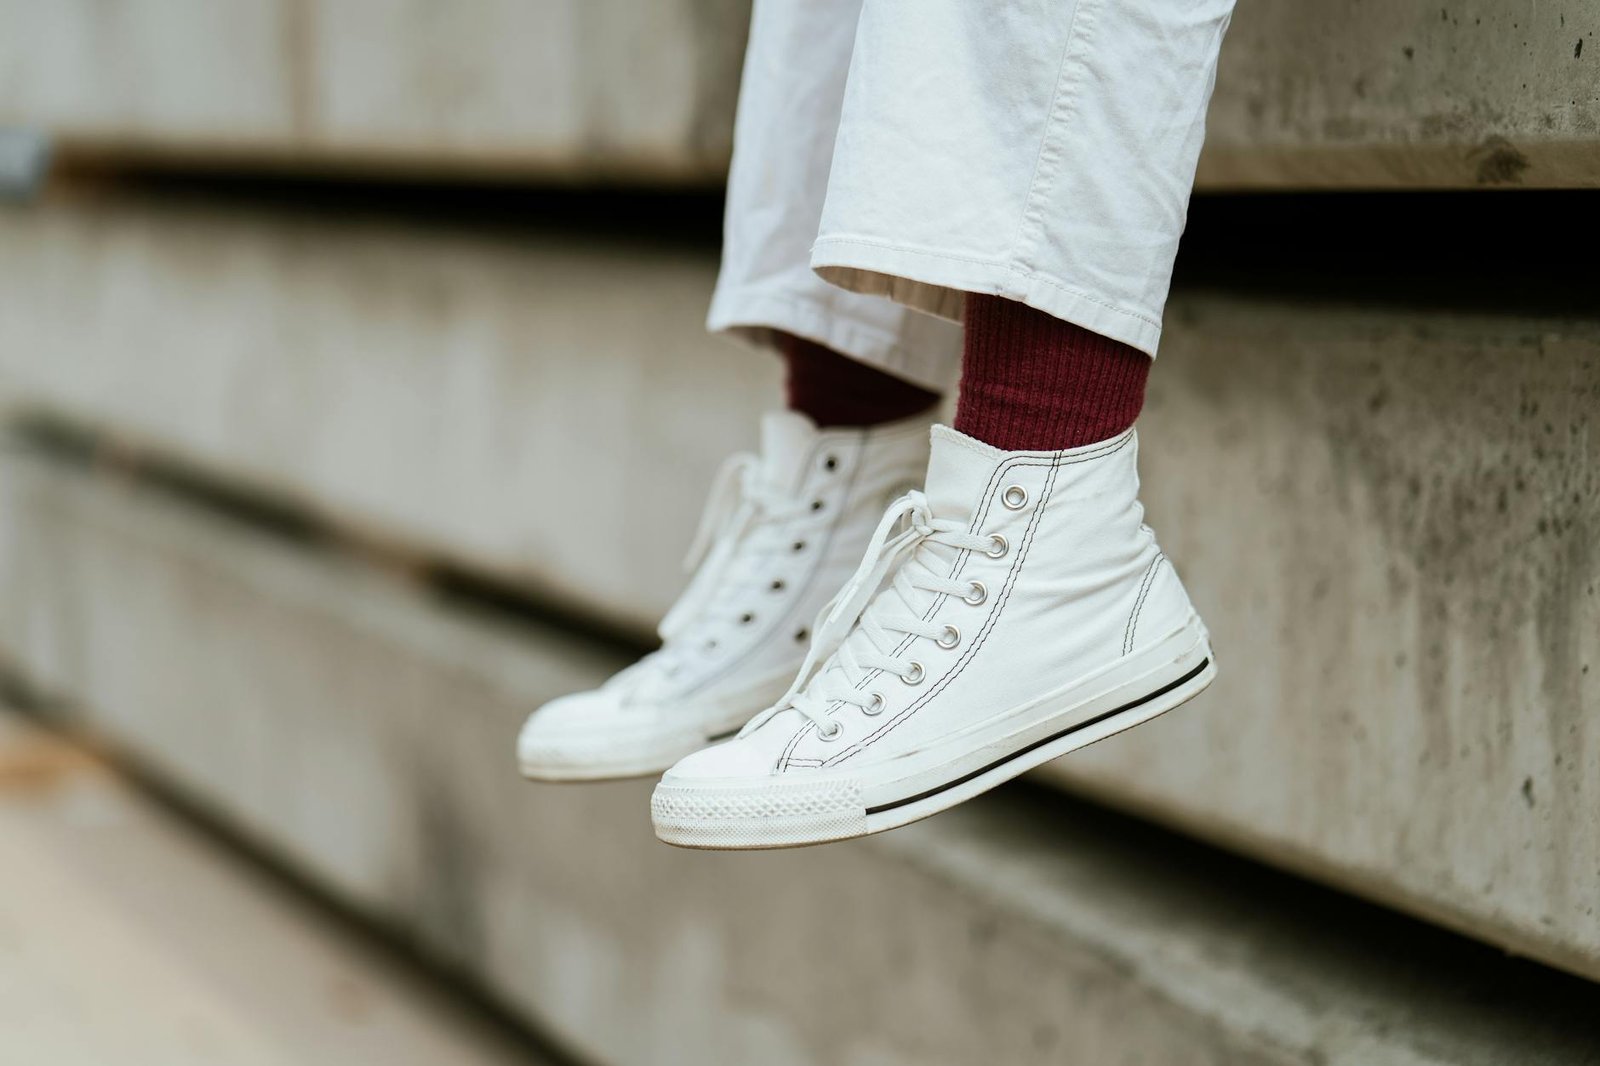
Choosing the Right Reference
When I’m getting ready to recreate the intricacies of footwear in my drawings, picking the best reference is crucial. After all, having a solid reference can make the difference between a generic pair of shoes and a lifelike representation that captures the imagination. High-quality images or the actual shoe itself are indispensable tools at this stage.
Firstly, choosing a reference that offers multiple angles of the shoe can provide a comprehensive understanding of its form. I always make sure to have a front, side, and back view at hand. This helps me appreciate subtle changes in shape and how different components overlap or connect.
Secondly, lighting plays a significant role in illustrating textures and materials correctly. A well-lit reference shows off the shine of patent leather, the softness of suede, or the ruggedness of a boot’s tread with clarity. I avoid references with extreme shadows or highlights, as these can obscure important details.
At times, when I aim to draw a specific type of shoe, like a chunky sneaker or a sleek stiletto, I focus on images that demonstrate distinct characteristics. This could include the bulkiness of the sole or the delicate curve of the heel. I also keep an eye out for high-resolution photographs where I can zoom in to see the stitching, patterns, or any wear and tear that gives a shoe personality.
Even though I have my go-to online resources like stock photo websites and fashion blogs, I never underestimate the value of taking photos of my own shoes or those of friends and family. This allows me to control the lighting and angle, ensuring the reference checks off all my needs.
In some cases, nothing beats handling the real thing. Whenever possible, I have the actual shoe in front of me. This hands-on approach lets me examine and understand the physical structure of the shoe—like how the sole bends or where the shoe creases with movement—which is something flat images can’t fully convey.
Step-by-Step Guide to Drawing Feet in Shoes
Drawing feet in shoes requires attention to detail and an understanding of the shoe’s interaction with the foot. I’ll walk you through a step-by-step process that I use to ensure my drawings have a realistic and professional appearance.
Gather Your Reference Materials
First, I make sure I have all the reference images and the actual shoe if possible. This helps me capture every nuance from the start. I look for references from various angles to understand the volume and structure of the shoes on the feet.
Sketch the Basic Outline
I begin with a light pencil sketch to outline the basic shape of the foot in the shoe. It’s important not to press too hard, as adjustments are likely needed later. Detail isn’t critical at this stage; my focus is on proportion and the overall form.
Refine the Outline
Once the basic outline is in place, I start to refine it, adding in contours and subtle shapes that define the shoe’s style. At this point, I pay close attention to how the foot inside affects the shape of the shoe, creating bulges or tension in certain areas.
Add Details and Textures
Adding details such as laces, seams, and patterns come next. Textures are essential to my work, so I take my time to illustrate the differences in materials, such as leather creases or the weave of fabric. This is where my references are invaluable, as they provide the information I need to make textures look realistic.
Adjust Lighting and Shadows
I consider where the light source is coming from and add highlights and shadows accordingly. Shadows are especially important, as they give dimension and make the shoe look grounded on the foot. My aim is to create a balance where the light naturally accentuates the shoe’s features without overwhelming the rest of the drawing.
Finalize with Depth and Contrast
To finalize, I enhance contrast and depth, ensuring the drawing pops. I may use an eraser to lift graphite or ink to create highlights, and I’ll darken the deepest shadows for a striking effect. It’s a meticulous process, but the end result is always worth the time spent.
Common Mistakes to Avoid
When diving into the art of drawing feet in shoes, it’s just as crucial to be aware of common pitfalls as it is to know the correct techniques. Here’s what I’ve learned to watch out for.
Firstly, ignoring the foot’s anatomy can lead to a shoe that looks unnatural or even uncomfortable. Remember that the shoe should look like it’s being worn, not simply placed over a foot. To avoid this, always consider the underlying structure of the foot during each step of the drawing process.
Another mistake is overlooking perspective. Sometimes, I’ve found that budding artists draw both shoes from the same angle, which can distort the sense of depth. Instead, each shoe should reflect its own position in space. If one foot is further away, it should appear smaller and aligned with the perspective.
Additionally, it’s easy to fall prey to uniform lighting. Without proper consideration of light sources, your drawing can end up looking flat. I make sure to determine where the light is coming from and shade accordingly, giving the drawing more dimension.
One common oversight is not paying attention to symmetry when it’s required. While feet are not perfectly symmetrical, the shoes we wear often are, at least in pairs. Keep an eye out for unintentional asymmetry in shoelaces, patterns, or other design elements that should match.
A personal challenge I often notice is over-complication. When starting out, I’d get lost in the details and lose the overall shape and form of the shoes. It’s important to begin with a clear, simple outline before adding any complexities.
Lastly, artists might forget to check proportions. Even if everything else is done well, incorrect proportions can make the shoes feel off. Regularly stepping back to assess the drawing as a whole helps me avoid this issue.
By keeping these common mistakes in mind and actively working to steer clear of them, I’ve seen a significant improvement in my drawings. Remember, it’s all about practice and learning from every attempt.
Conclusion
Mastering the art of drawing feet in shoes is a valuable skill that’ll elevate your artistic prowess. Remember, practice is key. Each sketch hones your ability to capture the essence of footwear with accuracy and style. Keep experimenting with angles and lighting to bring your drawings to life. And don’t be disheartened by mistakes; they’re stepping stones to your success. So grab your pencil and let your creativity take the lead—your next masterpiece is just a drawing away!