Cleaning Sandals After Athlete’s Foot Infections
Key Takeaways
- Athlete’s foot thrives in warm and moist environments, making it crucial to clean sandals thoroughly to prevent re-infection.
- Gather essential cleaning supplies and consider the material of your sandals before starting the cleaning process.
- Follow a step-by-step guide to clean and disinfect your sandals effectively, including washing with soap and water and using antifungal treatments.
- Proper drying techniques, such as air drying and sunlight exposure, are essential to prevent fungal growth.
- Use preventative measures like antifungal powders and keeping feet dry to reduce the risk of developing athlete’s foot.
- Assess the condition of your sandals regularly and replace them if signs of wear and tear persist to maintain foot health.
Understanding Athlete’s Foot and Its Impact on Footwear
The Nature of the Fungal Infection
Athlete’s foot is a common fungal infection that typically affects the skin between the toes but can also spread to other areas of the foot. It thrives in warm and moist environments, making sweaty feet trapped in sandals the perfect breeding ground for this fungus. The infection can cause itching, burning, and peeling skin, making it uncomfortable to wear sandals.
Why Proper Sandal Cleaning Is Essential
Cleaning sandals thoroughly is crucial in preventing the recurrence of athlete’s foot. Fungal spores can survive on surfaces for a long time, potentially leading to reinfection if not properly addressed. By regularly sanitizing sandals after treating the condition, I ensure that any lingering spores are removed, reducing the risk of reinfection and maintaining foot hygiene.
Preparing to Clean Your Sandals
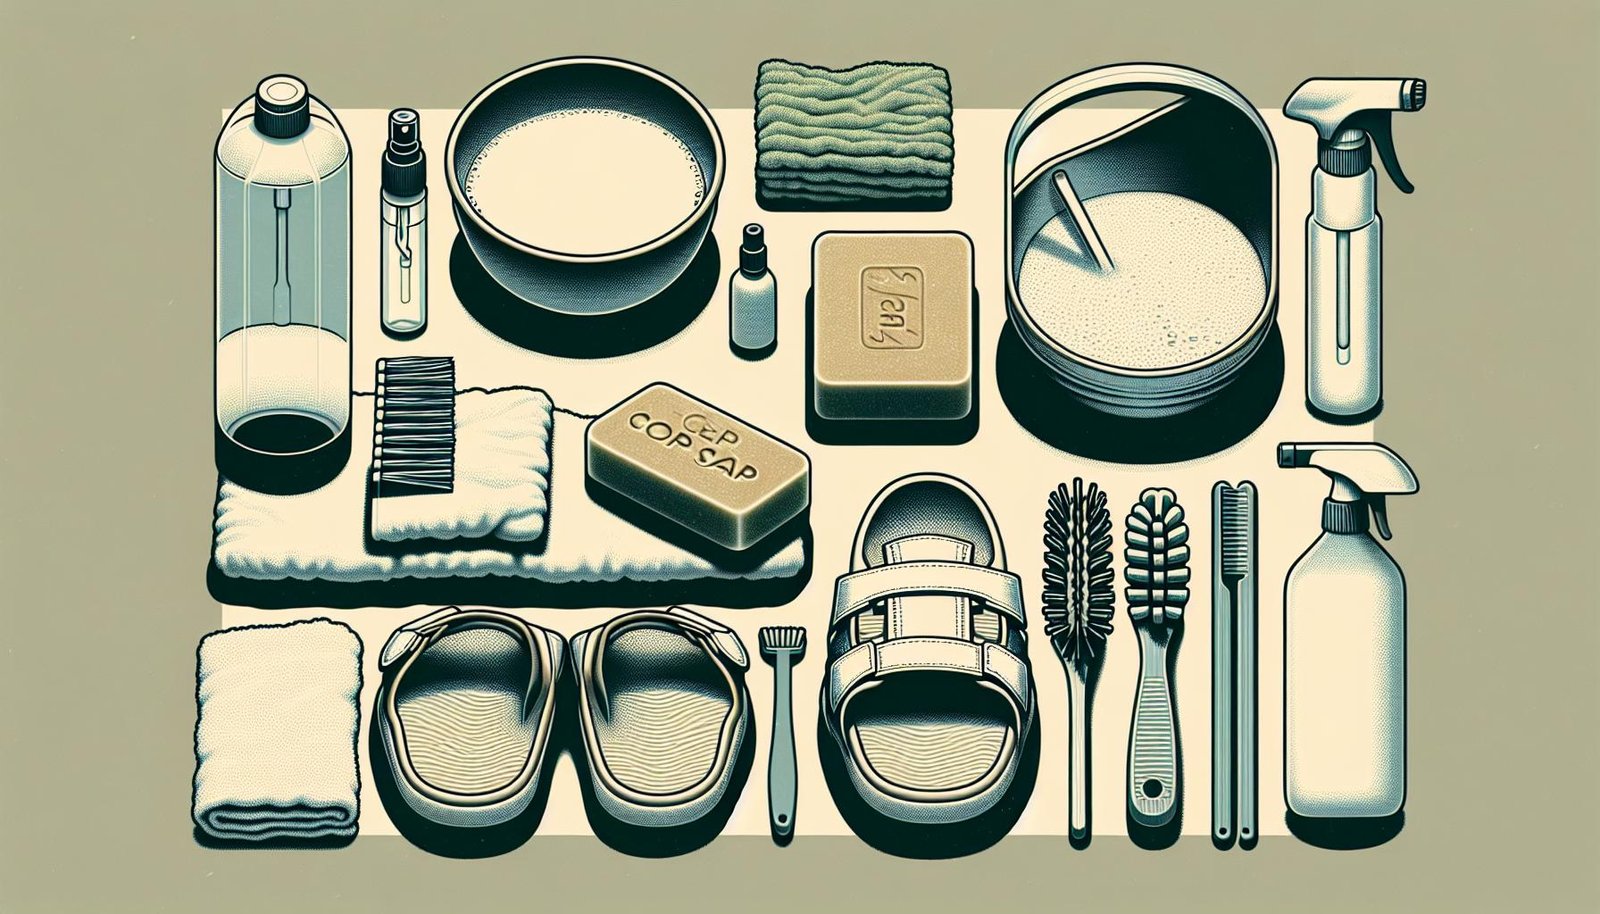
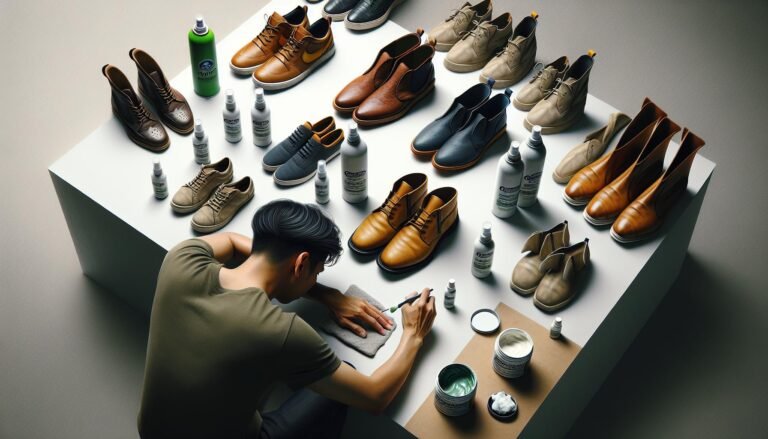
Gathering Necessary Cleaning Supplies
When cleaning sandals to eliminate athlete’s foot spores, I always make sure to gather the essential cleaning supplies first. These usually include a mild soap or detergent, a soft brush, water, a clean cloth, and a disinfectant solution. By having all the items ready, I can efficiently clean my sandals without any interruptions.
Considering Your Sandal Material
Before starting the cleaning process, I assess the material of my sandals. Different materials like rubber, leather, or fabric may require specific cleaning methods to avoid damage. For instance, leather sandals should be cleaned gently to prevent discoloration or cracking, while rubber sandals can withstand a more rigorous cleaning approach. Understanding the material helps me choose the right cleaning technique for effective results.
Step-by-Step Guide to Cleaning Sandals
After discussing the preparation steps for cleaning sandals, let’s delve into the actual cleaning process. Here’s a detailed guide on how to clean your sandals effectively:
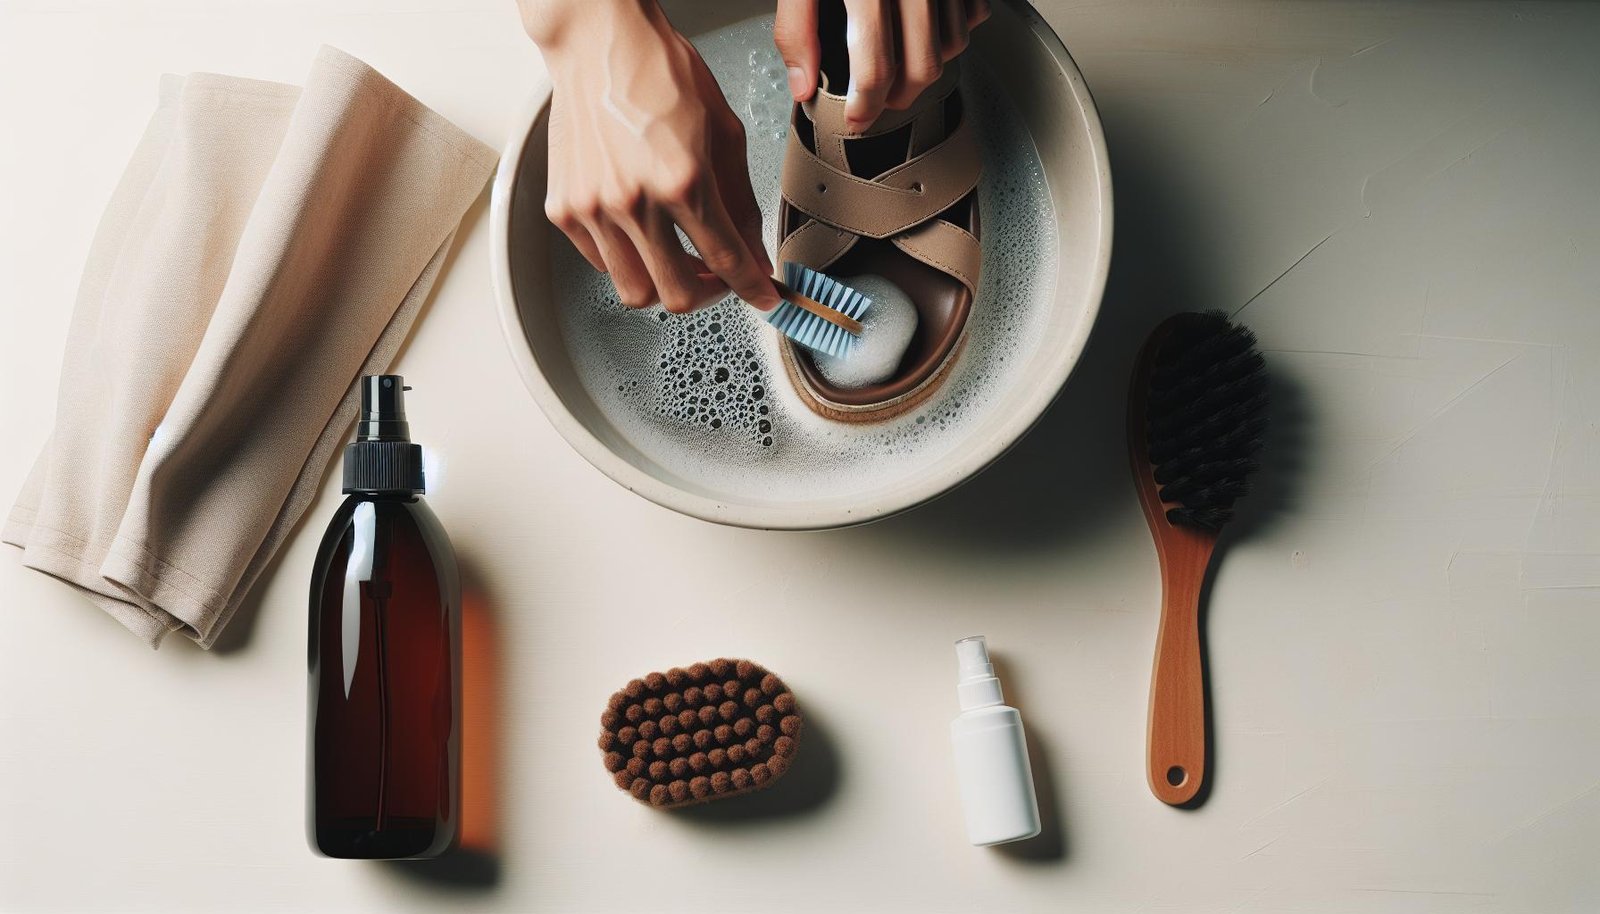
Washing with Soap and Water
To begin, grab a soft brush, mild soap, warm water, and a clean cloth. Here’s what I do:
- Pre-soak: I gently scrub the sandals with the soft brush to remove any visible dirt or debris.
- Soapy solution: I mix a small amount of mild soap with warm water to create a soapy solution.
- Scrub: Using the soapy solution and the soft brush, I scrub the sandals thoroughly, paying extra attention to straps and crevices.
- Rinse: After scrubbing, I rinse the sandals with clean water to remove any soap residue.
- Dry: Finally, I pat the sandals dry with a clean cloth and leave them in a well-ventilated area to air dry completely.
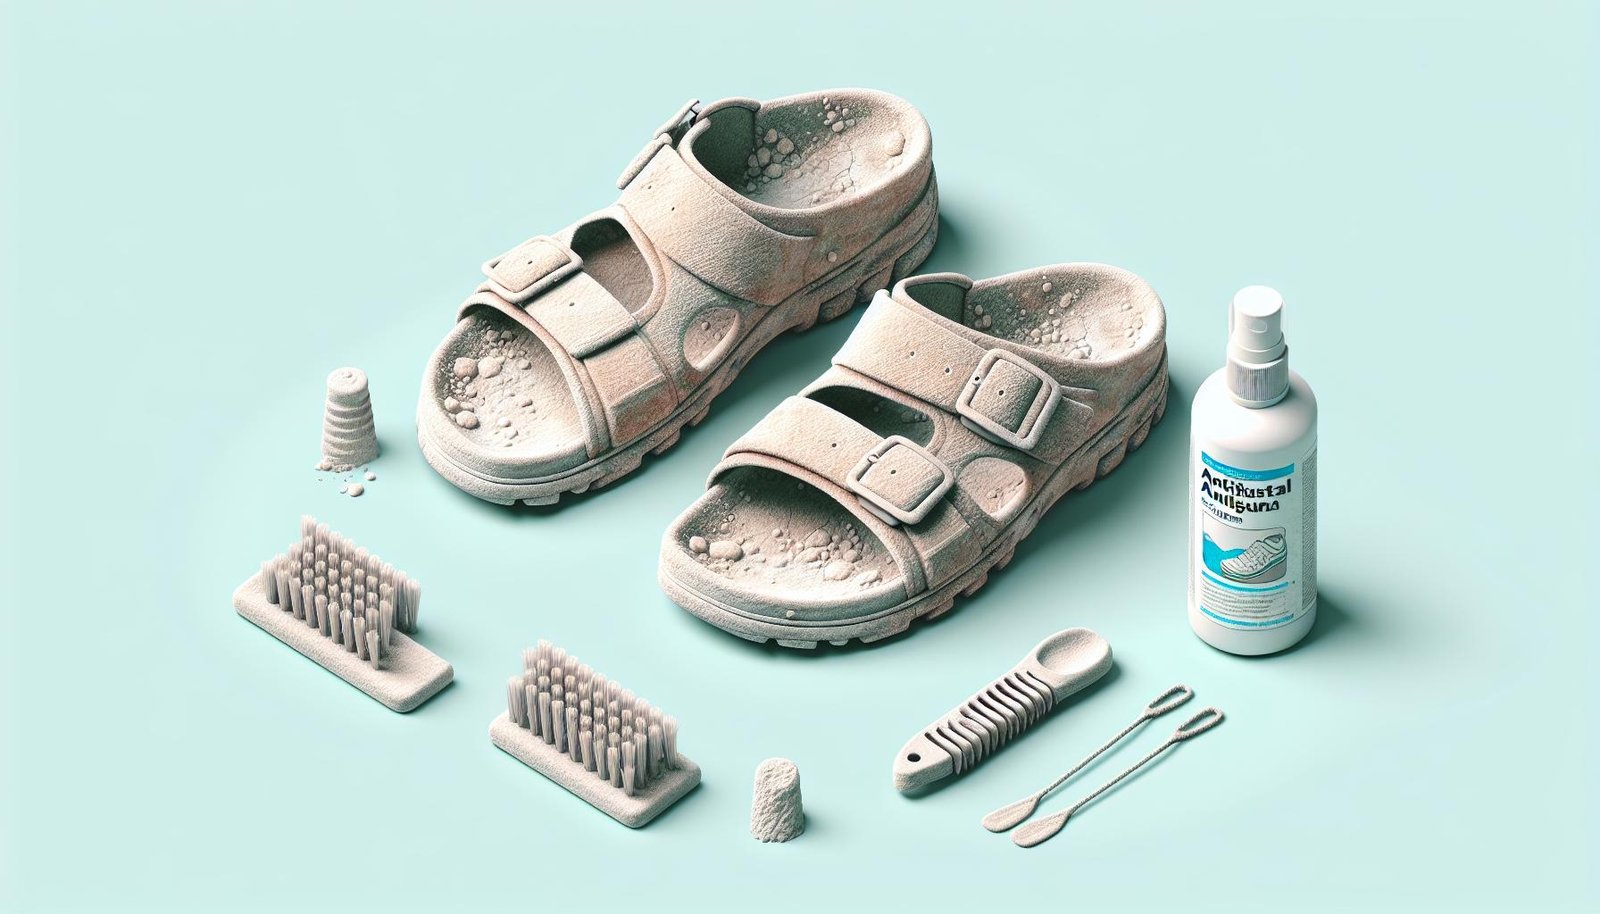
Disinfecting with Antifungal Treatments
Let’s move on to disinfecting your sandals using antifungal treatments:
- Choose a treatment: Select an antifungal spray or solution specifically designed for sandals.
- Apply: Following the product instructions, I spray or apply the antifungal treatment generously on the sandals, focusing on all areas.
- Drying time: Allow the sandals to dry completely as per the treatment’s recommended time to ensure effective disinfection.
- Ventilation: Ensure the sandals are placed in a well-ventilated area during and after the disinfection process to prevent fungal regrowth.
Drying Techniques to Prevent Fungal Growth
Proper drying is crucial to prevent fungal growth. Here’s how I ensure my sandals are thoroughly dried:
- Air dry: I prefer air drying my sandals naturally after cleaning and disinfection to avoid trapping moisture.
- Sunlight exposure: If possible, I place the sandals in direct sunlight for a few hours to benefit from the natural antifungal properties of UV rays.
- Alternating pairs: To allow each pair to dry completely, I rotate and alternate between different sandals if wearing them frequently.
By following these cleaning and disinfection steps, you can effectively reduce the risk of reinfection and keep your sandals free from fungal spores.
Preventative Measures for Future Protection

Using Antifungal Powders in Footwear
To further protect my feet from fungal infections like athlete’s foot, I always make sure to use antifungal powders in my footwear. These powders help in preventing the growth of fungi by creating an inhospitable environment for them. By sprinkling antifungal powder inside my sandals before wearing them, I can reduce the risk of fungal infections.
Tips for Keeping Feet Dry and Clean
In addition to cleaning my sandals regularly, I also follow certain tips to keep my feet dry and clean. Moisture provides an ideal breeding ground for fungi, so I make sure to keep my feet dry throughout the day. I wear moisture-wicking socks and change them frequently, especially after physical activities. It’s essential to thoroughly dry my feet after washing them to prevent any fungal growth. Additionally, I avoid walking barefoot in public areas like gym showers or swimming pools to minimize the risk of contracting infections. By following these simple tips, I can maintain good foot hygiene and reduce the chances of developing athlete’s foot.
When to Replace Your Sandals Instead of Cleaning Them

Assessing the Condition of Your Sandals
As I inspect the condition of my sandals, I look for signs of wear and tear that cleaning may not fix. If I notice deep foot imprints, fraying straps, or a worn-out sole that no longer provides adequate support, it might be time to consider replacing them. It’s essential to ensure that the sandals maintain their structural integrity to support my feet effectively.
Signs That It’s Time for a New Pair
When my sandals start to emit a persistent odor even after thorough cleaning, or if I see visible signs of mold or mildew that cleaning agents can’t remove, it signals the need for a new pair. Additionally, if there are cracks in the footbed, which can harbor bacteria and contribute to foot issues, it’s best to opt for a fresh set of sandals to maintain foot health. Being proactive in replacing sandals can prevent the recurrence of athlete’s foot and other foot-related problems.

Ensuring clean sandals is essential in preventing athlete’s foot. By following the recommended cleaning methods and foot hygiene tips, you can maintain foot health. Knowing when to replace sandals is crucial to avoid foot issues. Signs like persistent odors, mold, mildew, and footbed cracks indicate the need for a new pair. Prioritizing the integrity of your sandals is key for optimal foot support. Stay proactive in caring for your sandals to keep your feet healthy and happy.