Breaking In Dr. Martens Sandals for Maximum Comfort
Dr. Martens sandals are a popular footwear choice that combines the brand’s signature durability and rebellious style. Built with Dr. Martens’ comfortable “AirWair” rubber sole, these sandals offer renowned resilience for long-lasting wear. Available in both leather and vegan styles, Dr. Martens sandals cater to various preferences. With a range of fits and designs, from classic gladiator silhouettes to modern platform soles, these sandals seamlessly blend functionality and fashion. Whether paired with utility pants or a sundress, Dr. Martens sandals make a bold statement, reflecting the brand’s enduring appeal that spans generations.
Understanding the Break-In Process for Dr. Martens Sandals
Key Takeaways
- Breaking in Dr. Martens sandals requires patience and persistence for achieving the ideal fit and comfort.
- Before starting the break-in process, recognize the materials of your sandals to tailor the techniques accordingly.
- Preparing your sandals involves cleaning them gently before wearing and stretching the leather gradually for a personalized fit.
- Practical tips include wearing thick socks, gradually increasing wearing time, and using a leather softener for a faster break-in process.
- Protect your feet during the break-in phase by using protective pads or bandages and identifying/alleviating pressure points.
- Aftercare and maintenance are essential: clean and condition your sandals regularly, store them properly to maintain their quality and durability.
The Importance of Patience and Persistence
Breaking in Dr. Martens sandals requires patience and persistence. The process is crucial for achieving the ideal fit and ensuring maximum comfort. It’s essential to understand that quality footwear like Dr. Martens may take some time to conform to your foot shape. Stay determined throughout the break-in period, as the sandals will gradually mold to your feet, providing a personalized fit that enhances comfort and style.
Recognizing the Materials of Your Sandals
Before starting the break-in process, it’s important to recognize the materials of your Dr. Martens sandals. Typically crafted from high-quality leather, Dr. Martens footwear is known for its durability and longevity. Understanding the materials used in your sandals can help you tailor the break-in process to suit the specific characteristics of the leather. Different types of leather may require varying break-in techniques, so familiarize yourself with the composition of your sandals to ensure an effective break-in experience.
Preparing Your Dr. Martens Sandals for the Break-In Period

Appropriate Cleaning Before Wearing
Before diving into breaking in your new pair of Dr. Martens sandals, it’s crucial to ensure they are clean and free from any dirt or debris. To do this, I suggest gently wiping them with a damp cloth to remove any surface impurities. It’s important not to saturate the leather, as excessive moisture can damage the material. Once cleaned, allow the sandals to air dry naturally away from direct heat sources to prevent any potential leather damage. A clean start sets the stage for a successful break-in process.
Stretching the Leather Gently
To kickstart the break-in period of your Dr. Martens sandals, I recommend gently stretching the leather to help mold the sandals to the shape of your feet. One effective method is to wear thick socks with your sandals around the house for short intervals. The warmth and pressure exerted by your feet will encourage the leather to gradually soften and conform to your foot contours. Remember, patience is key during this stage, as rushing the process may lead to discomfort later on. By gently stretching the leather, you’re laying the foundation for a comfortable and personalized fit that will last for years to come.
Practical Tips for Breaking In Your Sandals

Wearing Thick Socks
When breaking in my Dr. Martens sandals, wearing thick socks was a game-changer. It’s a simple yet effective trick to help stretch the leather and mold the sandals to my feet. By wearing thick socks with your sandals, you create additional padding and friction, allowing the leather to gradually adjust to your foot shape. It may feel a bit tight at first, but this method accelerates the break-in process and ensures a personalized fit sooner.
Gradual Increase of Wearing Time
One strategy that worked well for me in breaking in my Dr. Martens sandals is the gradual increase of wearing time. Starting with short intervals and gradually extending the duration allows your feet to adapt to the sandals without causing discomfort or blisters. It’s essential to listen to your feet during this process; if you feel any pain or rubbing, give your feet a rest and try again later. Consistency in wearing your sandals for incrementally longer periods will help speed up the break-in period while keeping your feet happy.
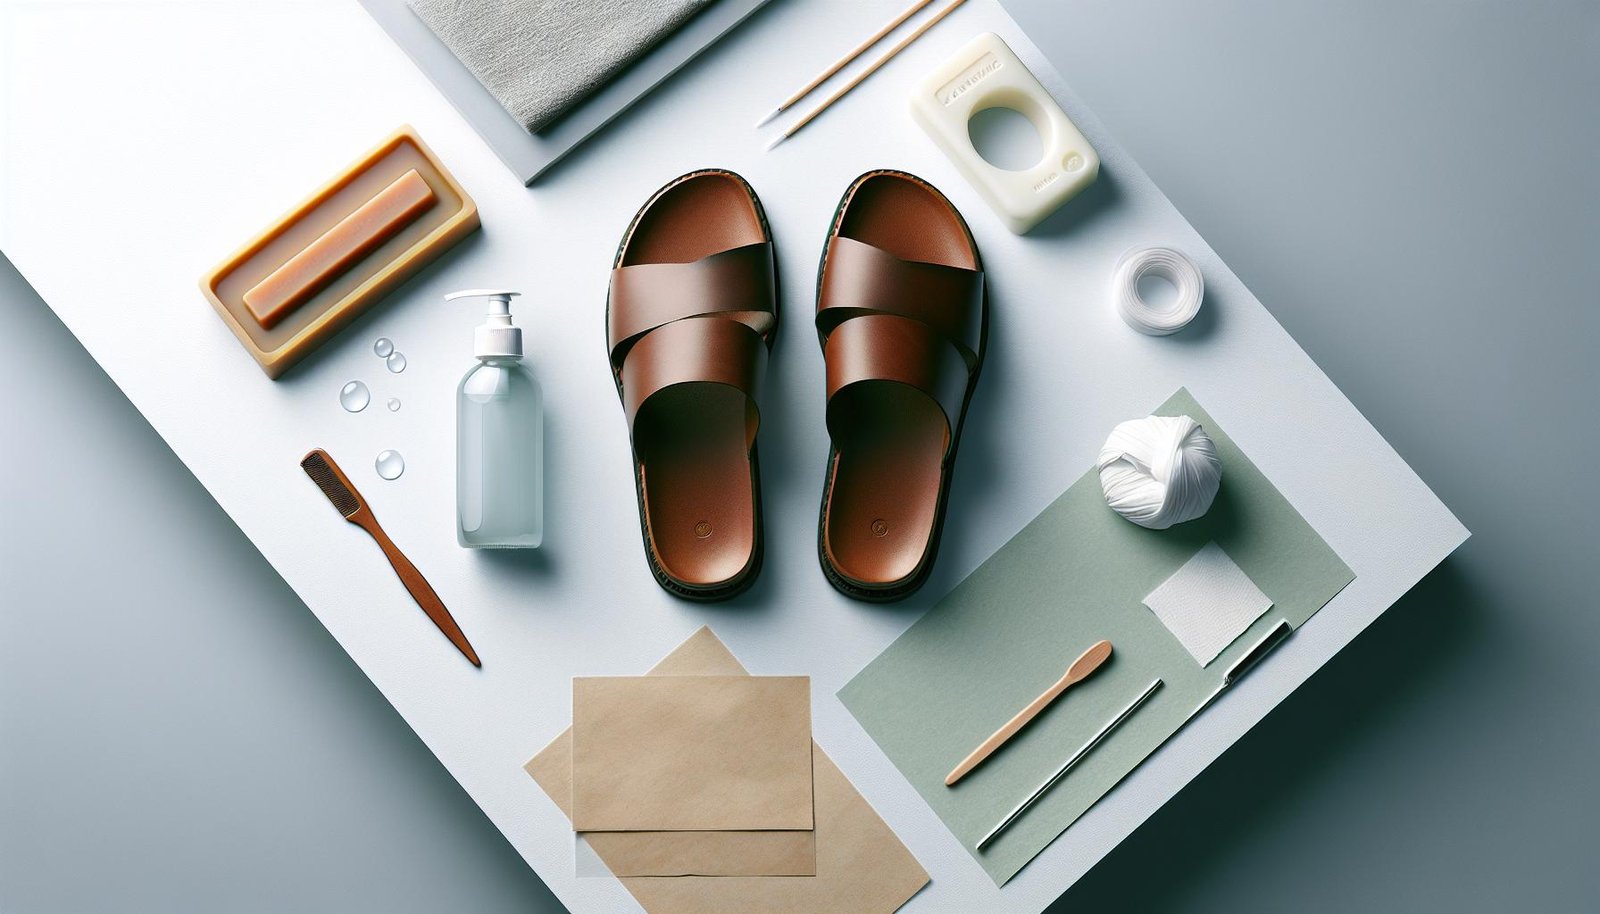
Using a Leather Softener
In my experience, using a leather softener on my Dr. Martens sandals was incredibly helpful in speeding up the break-in process. Leather softeners work by moisturizing the leather, making it more supple and easier to mold to your feet. Before applying any products, ensure they are suitable for your sandals’ leather type to avoid any damage. By following the instructions on the leather softener product carefully, you can aid in softening the leather and achieving a comfortable fit faster. Remember to let the leather dry completely after applying the softener to prevent any moisture-related issues.
Protecting Your Feet During the Break-In Phase

The Role of Protective Pads or Bandages
When breaking in Dr. Martens sandals, it’s essential to consider using protective pads or bandages on areas that are prone to rubbing or blistering. These pads act as a barrier between your skin and the leather, reducing friction and preventing discomfort. Placing these pads strategically on potential pressure points can help alleviate pain during the break-in process. It’s a proactive approach to minimize the risk of developing blisters and sore spots, giving your feet the protection they need while the sandals conform to your foot shape.
Identifying and Alleviating Pressure Points
During the initial stages of breaking in your Dr. Martens sandals, it’s common to experience pressure points where the leather may rub against your skin. Identifying these areas early on is crucial to prevent any significant discomfort or blisters. To alleviate pressure points, consider using a specialized leather stretching spray or conditioner on the tight areas. Additionally, you can gently massage the leather or use a hairdryer on a low heat setting to soften and mold the material. By addressing pressure points promptly, you can ensure a more comfortable break-in phase and a customized fit that enhances the overall wearability of your Dr. Martens sandals.
Aftercare and Maintenance of Dr. Martens Sandals
Regular Cleaning and Conditioning
To keep my Dr. Martens sandals looking fresh and in top condition, I make sure to clean them regularly. A simple way I maintain them is by wiping off any dirt or dust with a damp cloth. For tougher stains, I mix mild soap with water, gently scrub the affected areas, and then wipe them dry. This routine not only helps in keeping the leather clean but also prevents any long-term damage or discoloration.
In addition to cleaning, I also prioritize conditioning my Dr. Martens sandals. Conditioning the leather not only keeps it supple and soft but also helps in maintaining its durability. I use a high-quality leather conditioner that is specifically designed for Dr. Martens products. Applying the conditioner in a thin, even layer and allowing it to absorb into the leather ensures that my sandals stay nourished and moisturized, extending their lifespan.
Storing Your Sandals Properly
Proper storage is essential to ensure that my Dr. Martens sandals remain in excellent condition between wears. When I’m not wearing them, I store them in a cool, dry place away from direct sunlight, heat sources, or moisture. To retain their shape and prevent any creases, I stuff the sandals with acid-free paper or use shoe trees. This helps them maintain their form and prevents any deformities over time.
Moreover, I store my sandals in the original box or a breathable shoe bag to protect them from dust and potential damage. Keeping them covered when not in use not only preserves their quality but also makes it easier to locate them when I’m ready to wear them again. By following these simple storage practices, I ensure that my Dr. Martens sandals stay in pristine condition for years to come.

Breaking in Dr. Martens sandals is a process that requires patience and care to achieve the perfect fit and comfort. By following the tips outlined in this guide, such as wearing thick socks, gradually increasing wear time, and using leather softeners, you can make the break-in phase more manageable. Remember to protect your feet with pads or bandages, identify pressure points early, and utilize stretching sprays and conditioners when needed. Additionally, proper aftercare and maintenance are crucial for preserving the quality and shape of your sandals. Regular cleaning, conditioning with a leather conditioner, and storing them in a cool, dry place with shoe trees will ensure your Dr. Martens sandals last for years to come.